fuchsia – google new os for IoT 編譯 執行

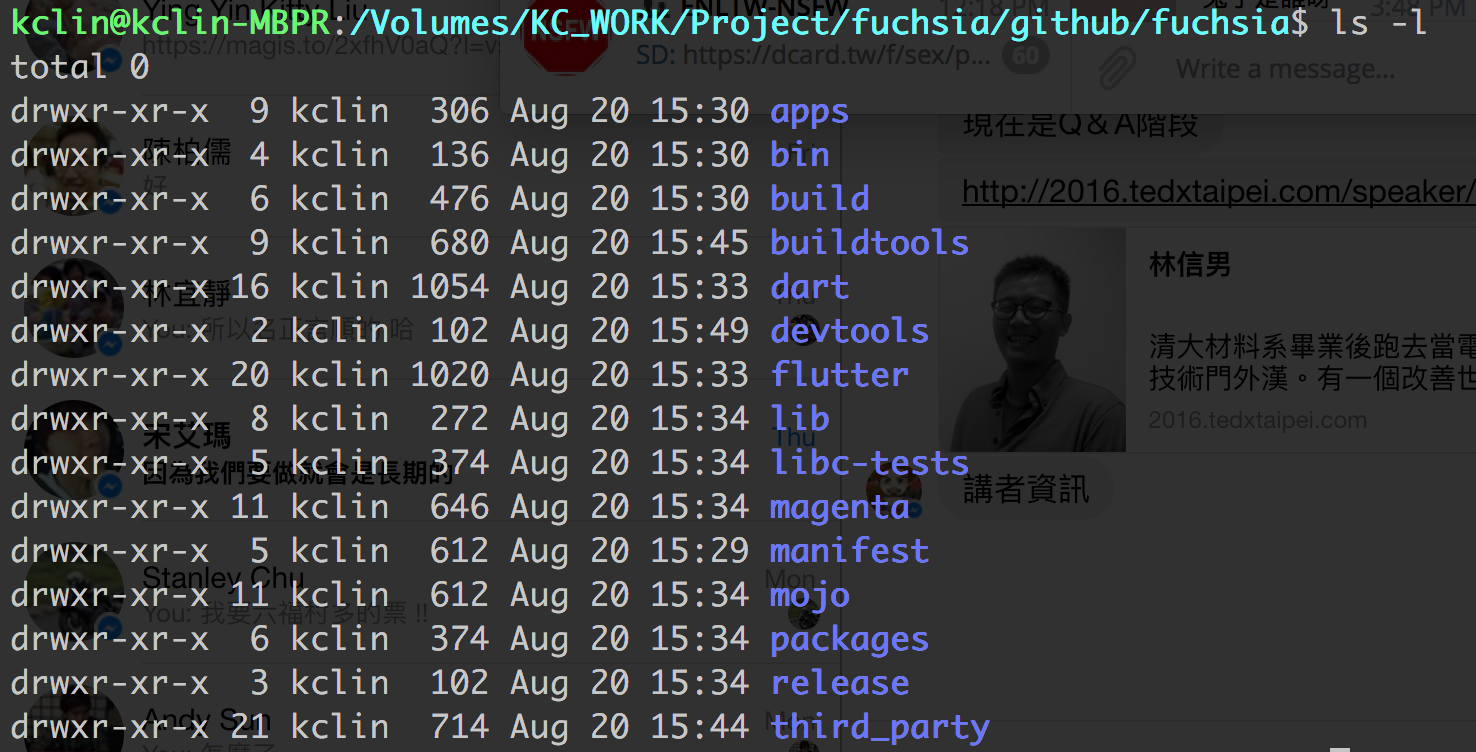
這裡 https://github.com/fuchsia-mirror/manifest 上面有step by step 的作法, 下載後先看folder structure XDD
核心是 magenta (little-kernel)
看檔案副檔的話, c還是佔大宗, c > cpp > go 再加上一些.sh & Makefile 要測試的話, 以下是我玩的時候需要的步驟 (OSX 10.11.5) 1. 下載fuchsia及相關檔案
curl -s https://raw.githubusercontent.com/vanadium/go.jiri/master/scripts/bootstrap_jiri | bash -s fuchsia
cd fuchsia
export PATH=`pwd`/.jiri_root/scripts:$PATH
jiri import fuchsia https://fuchsia.googlesource.com/manifest
jiri update
2.Build fuchsia
./packages/gn/gen.py
./buildtools/ninja -C out/debug-x86-64
3.Build qemu
git clone https://fuchsia.googlesource.com/third_party/qemu
cd qemu
git checkout fuchsia
./configure --target-list=arm-softmmu,aarch64-softmmu,x86_64-softmmu --prefix=/path/to/install
make
make install
export PATH=/path/to/install/bin:$PATH
4.Build magenta
cd ../magenta
make -j32 magenta-pc-x86-64
5.執行 magenta
./scripts/run-magenta-x86-64 -x ../out/debug-x86-64/user.bootfs
6. 結果如下圖

